How to Add a Changelog to Your SaaS App: Start Manually
Build a simple product-update page and in-app entry point first. Learn what to store, how to review updates, and when a dedicated widget is worth using.
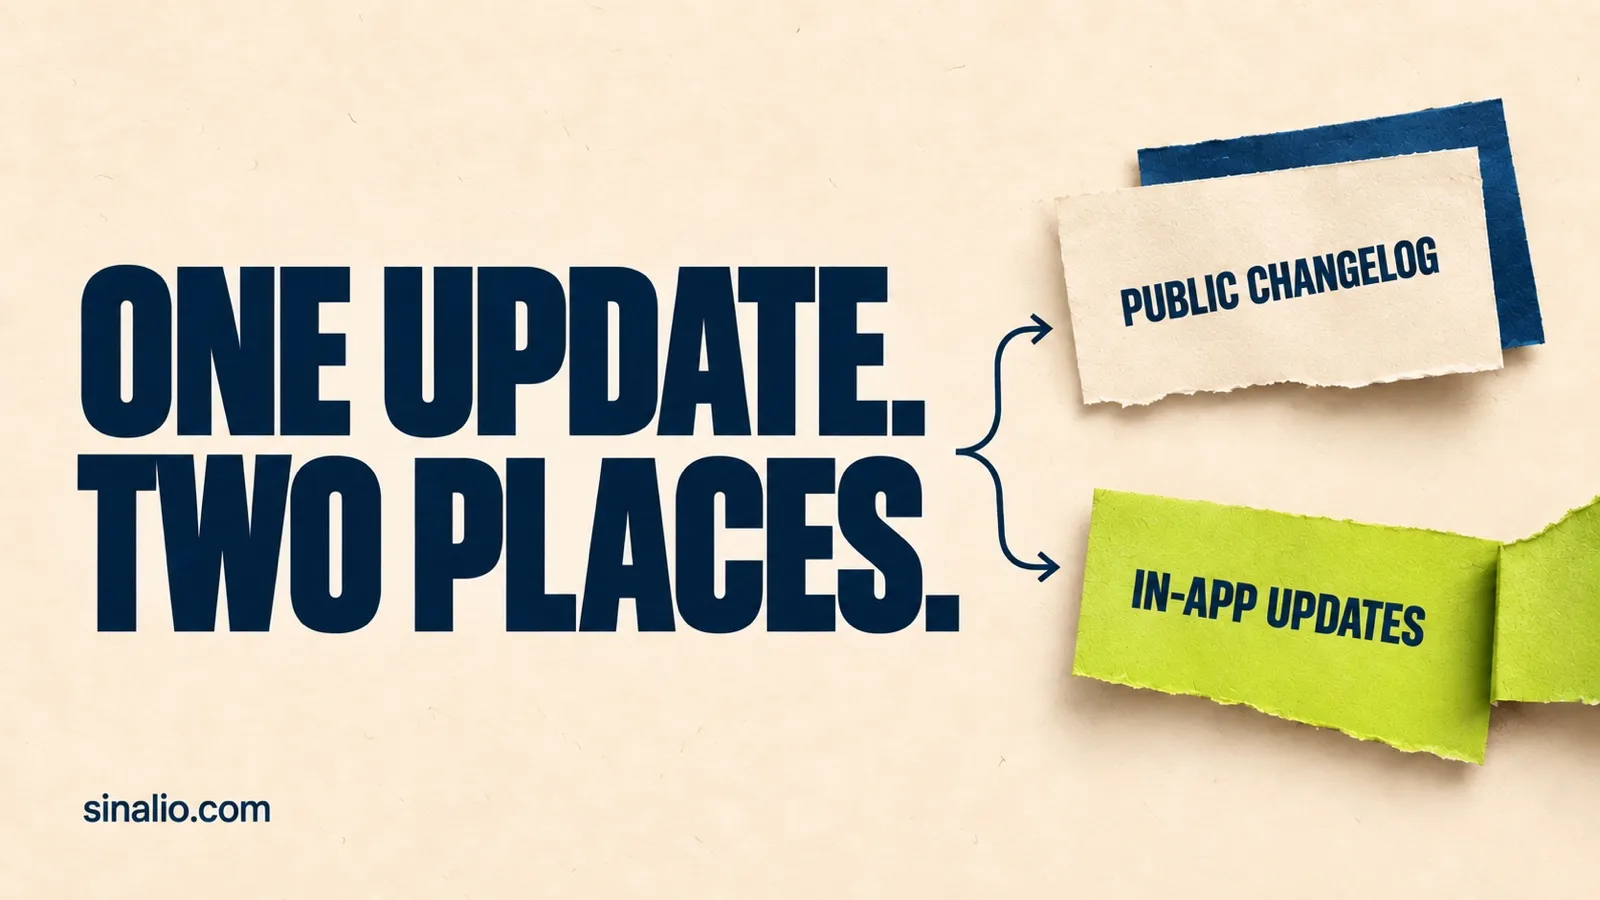
Your product changed. Do your users know what changed? A customer-facing changelog gives people a reliable place to find the answer. You can start with a page and one in-app link, without buying another tool.
This guide is about updates users can understand. Git commits and technical release notes can help engineers, but they do not explain what changed for a customer or what that person can do now.
Step 1: Define the update before building the interface
For each entry, record a stable URL, a plain-language title, publication date, short description, the people affected, and the next action. Name any limit based on plan, role, rollout, or environment. A draft must stay private until the change is available to its intended audience.
You can store reviewed entries as Markdown or structured data in your repository when updates are rare and the person shipping code can publish them. Use a CMS when non-developers need editing and revision history. Keep the URL stable after publication so customers and support can share it.
Write for the person using the feature
“Added customer_filters_v2” describes implementation. “Saved filters stay selected when you return” describes behavior. Say where to use the change and any condition that matters. Make the first sentence useful even when the reader never opens the full entry.
Step 2: Publish a simple updates page
Show the newest published entries first. Give each update its own link, a visible date, a readable heading, and enough detail to understand the change. When the information is public, let people read it without a login. If an entry exposes a private customer workflow, protect it with the same access policy as the app.
Check that a public page has meaningful HTML text, a clear page title and description, working links, and the correct canonical URL. If you publish multiple languages, review each version separately; do not point search engines to a translation that does not exist.
Step 3: Make the change visible inside your app
Start with an ordinary link labeled What's new in your authenticated app navigation, pointing to the updates page. It works with a keyboard, has a clear destination, and avoids another overlay. On mobile, confirm the link remains findable in the real navigation.
Add a panel or unread state only when it solves a real problem
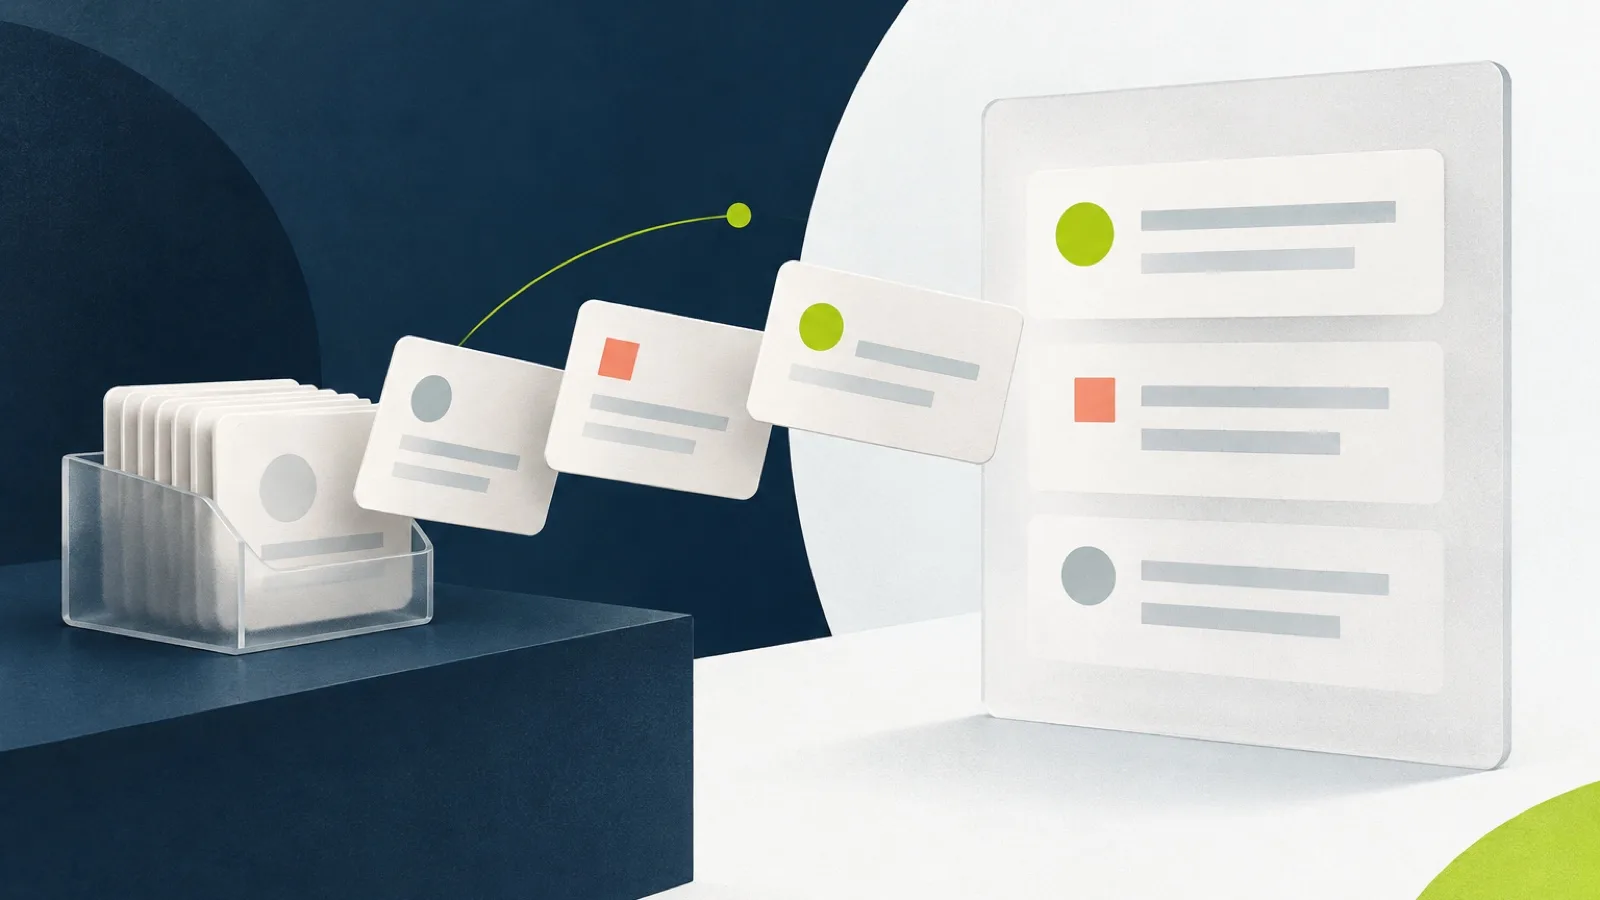
If users need updates without leaving their task, add an in-app panel or widget. Give it a visible close action, sensible focus return, small-screen behavior, and a fallback link to the full update. An unread badge needs a precise definition of “read.” A browser-local marker does not follow a person across devices; a server-side marker requires identity, storage, and privacy review.
Step 4: Make publication a reliable routine
Use four states: draft, reviewed, published, and corrected. Before publishing, check that the feature is actually available, screenshots match the released interface, links work, and rollout limits are clear. After publishing, open both the page and the in-app link as a user on desktop and mobile.

An agent can use commits or pull requests as source material and prepare a draft. A person still checks the customer-facing claim and confirms publication. A merged pull request does not prove that every customer can use the feature.
Step 5: Decide whether to keep building
The manual approach works when updates are infrequent, one person owns the process, and a page plus link reaches the audience. Reconsider it when you repeatedly need an embedded panel, separate environments, feedback in the same product surface, user context, editorial review, or several people publishing.
Compare the whole routine: installation, content review, data sent by the widget, accessibility, environment separation, billing, and the work required to leave the tool later. A longer feature list alone does not make an option better.
Where Sinalio fits
Sinalio's current offer combines in-app product updates and feedback in one widget and lists a public page for published updates. Verify how that page works in your workspace. Feedback may include sanitized page and environment context. The widget is framework-independent and isolated from host CSS with Shadow DOM. Separate Sandbox and Production keys support a deliberate test before customers see it. Authorized web and MCP workflows can prepare updates, with publication as a separate confirmation.
That can help if you want the update and the next customer signal in the same place. It does not remove the need to decide what matters or write accurately. If a simple page and link already serve your users, keep the manual version.
Frequently asked questions
Do I need a widget for a SaaS changelog?
No. A public or authenticated updates page with an in-app link can be enough. A widget helps when people need to see updates inside their current workflow and your team can maintain it.
Should the changelog be generated from Git commits?
Commits are source material, not finished customer copy. Use them to identify candidate changes, then verify availability, audience, next action, and limits before publication.
How do I know the setup works?
Publish one real update, open it from the app on a small screen, use the link with a keyboard, and ask someone unfamiliar with the change what they understood. If you add feedback, send one realistic report and check what context reached the team.
Keep reading
If a page and link have become too much manual work, review Sinalio's current plans. Creating an account is free. A usable new workspace requires a plan and card in Stripe Checkout, and the 14-day trial begins after confirmation.